Are you scared of working out your chest and shoulders? That’s understandable. Chest workouts demand greater muscle control and sometimes, fitness equipment that you don’t have at home. In fact, research on the best chest exercises shows that the top three involve gym equipment. But if you’re like the 50% of Americans that prefer doing a home workout to using the gym, this article is for you.
The benefits of working out your chest and shoulders at home extend beyond just physical gains. By regularly engaging in these exercises, you can boost your confidence, enhance your mental health, and foster a sense of accomplishment. Home workouts allow you to take control of your fitness journey, eliminating the intimidation that often comes with gym environments. Plus, the flexibility to schedule workouts around your day makes it easier to stay consistent and committed to your goals. Whether you’re looking to increase muscle mass, improve posture, or just feel stronger, these home exercises are a great way to get started.
In this article, you’ll find 10+ home workouts for chest and shoulders that you can do with and without fitness equipment.
Why Should You Do Home Workouts Chest and Shoulders?
Increasing Upper Body Strength
Many of the things we do every day, like catching and lifting things, depend on our upper bodies, according to a study on upper limb function. Upper body workouts engage your chest muscles and help you build stronger shoulders, equipping you with the much needed energy to go about your day.
Posture Improvement
With the rise of remote jobs, more people have become more prone to adopting poor postures, which could result in problems like severe neck and back pain. Luckily, an exercise program for correcting posture showed that chest-expansion exercises can help improve posture and the alignment of the upper body.
Fat Burning
An expert review of calorie-burning exercises concluded that strength training exercises are among the best. Within an hour of doing chest workouts, you’ll burn between 300 and 400 calories. After the exercise, the excess post-exercise oxygen consumption (EPOC) effect will kick in, causing you to continue to lose more calories all day.
The exact number of calories that you burn depends on factors like your bodyweight, age, height, etc. This workout calculator from Culinary Schools can help you get an estimate of how many calories you’ll burn if you add chest and shoulder workouts to your fitness regimen.
Best Bodyweight Chest and Shoulder Exercises at Home
1) Triceps Extension
In addition to helping you meet your goal of having stronger shoulders, this triceps workout also works your core muscles and your lower body.
Step-by-step Guide
- Assume a strong press-up position.
- Push upwards till your arms are completely extended. Make sure that you keep your elbows locked in and close to your torso while pushing upwards. Resist the urge to flare your elbows.
- Lower your body back to your position in step (a).
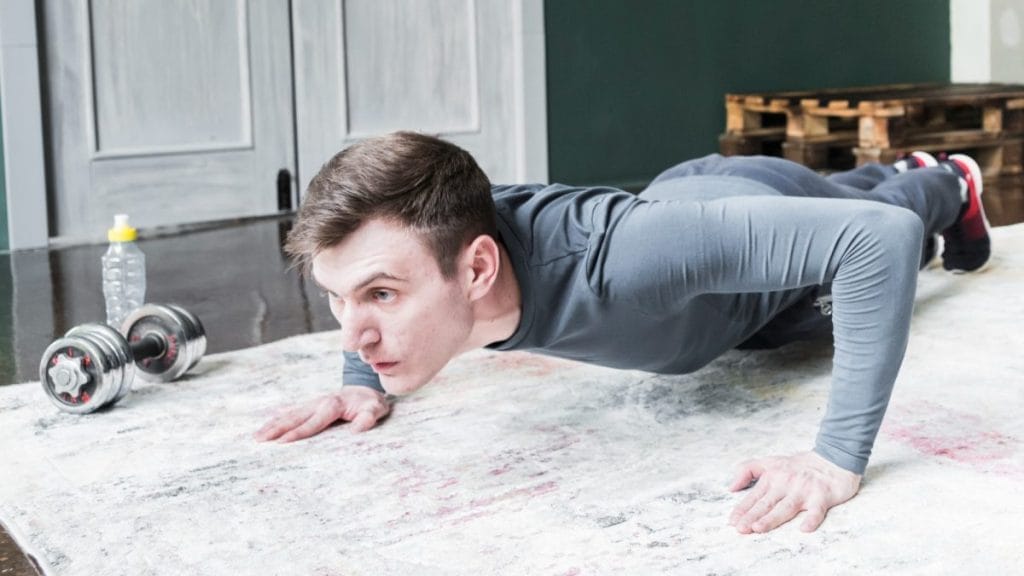
2) Diamond Push-up
The main targets of diamond push-ups are your pecs. Frequenting this exercise will gradually make your chest muscle groups become more defined and balanced.
- Place your hands on the floor and form a diamond shape with your forefingers and thumbs.
- Raise your heels off the ground, supporting your body weight with your toes.
- Lock in your elbows close to your torso.
- Push your body upwards, extending your arms fully.
- Return to your position in step (c).
Best Chest and Shoulder Workouts with Dumbbells
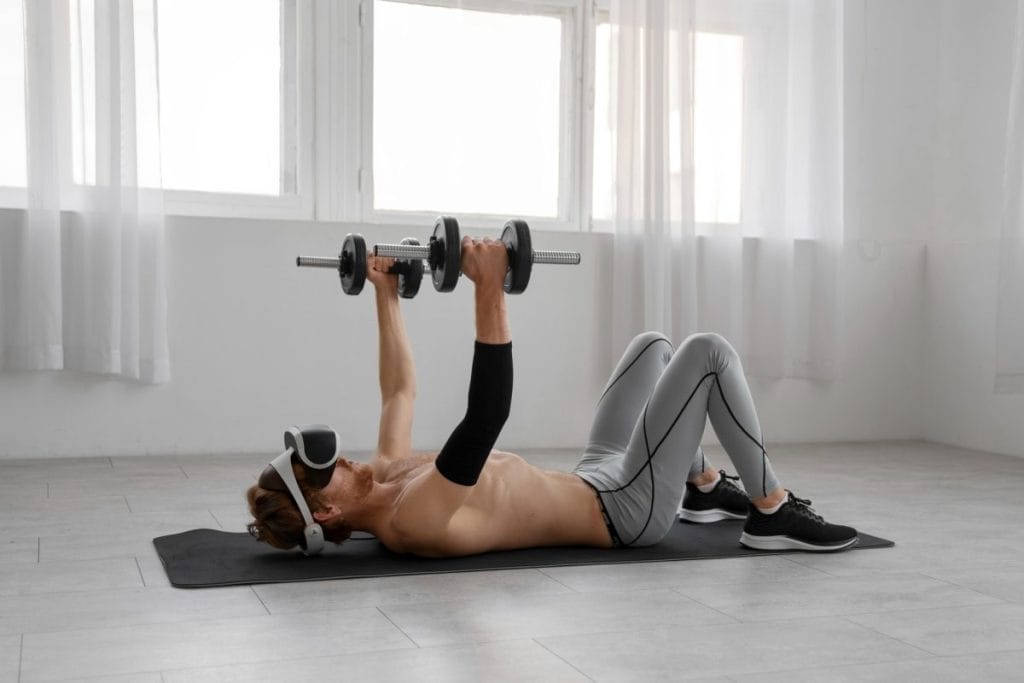
1) Dumbbell Floor Press
While you do the floor press, your body enjoys more stability and there’s less strain on your back. This lowers the risk of overworking your muscles during the workout.
Step-by-step Guide
- Get into the starting position. To do that, lie on the floor, facing up. Bend your knees so that your feet are flat on the floor.
- With a pronated or overhand grip, hold one dumbbell in each hand.
- Rest your upper arms on the floor. Incline them at a 45° angle from your body.
- Thrust your chest upwards slightly to work your chest muscles.
- Press the dumbbells upwards until your arms are fully extended.
- Slowly lower your arms and your chest until you resume your position in step (c).
2) Dead Stop Chest Press
When doing a dead stop chest press, pay attention to the alignment of your wrists, elbows, and shoulders during upward pressing motion. Proper alignment ensures the even distribution of the workload among these joints and prevents strain.
Step-by-step Guide
- Lie on your back.
- With your knees bent, let the soles of your feet lie flat on the floor.
- Grasp one dumbbell in each hand, using a pronated grip.
- Incline your upper arms at a 45° angle to your torso for maximum chest and shoulder muscle activation.
- Keeping your elbow joints on the floor, raise your forearms so that they’re perpendicular to the floor.
- Press the dumbbells upwards till your arms are fully extended. Straighten your arms and keep your hands shoulder-width apart. Maintain this position briefly.
- Resume your position in step (e).
3) Shoulder Press
This exercise takes your shoulder muscles and triceps through a full range of motion. Please, try to control your movements and position your elbows properly so that you don’t put too much strain on your rotator cuffs.
Step-by-step Guide
- Stand upright or sit with your feet shoulder width apart.
- Holding the dumbbells in a pronated manner, raise your arms until your elbow joints are angled at 90° while your upper arms are parallel to the floor.
- Press upwards, completely extending your arms. Ensure the ends of both dumbbells’ weights are almost touching.
- Dip or lower your arms back to their position in step (b).
4) Single Arm Press
Sometimes, you want to avoid straining your wrist by any means possible. In this situation, a single arm press will work best for you. By recruiting your deltoid muscles, upper back, and your triceps, it reduces the workload on your wrists.
Step-by-step Guide
- Stand with your feet hip-width apart.
- Hold a dumbbell with a pronated grip in your right hand.
- Leaning your upper body backwards slightly, raise the dumbbell until it slightly grazes your right shoulder.
- Press the dumbbell further upwards until your arm is perpendicular to the floor.
- Return to your position in step (c).
- Switch the dumbbell to your left hand and repeat steps (d) and (e) with your left arm.
5) Dumbbell Twisting Bench Press
For this workout, incline your adjustable workout bench at a slight angle (between 15° and 30°). This will shift the focus of the workout from your pectoral muscles, rear delts, and triceps to your upper chest muscles. If you want to engage your shoulders more during the routine, incline your bench at a steeper angle. In the video below, the dumbbell twisting bench press starts around 7:33.
Step-by-step Guide
- Incline your bench as described above.
- With a supinated grip, hold one dumbbell in each hand.
- Rest your back on the bench.
- Drop your upper arms slightly by your sides.
- Keep your elbows close to your torso and raise the dumbbells to chest level.
- As you press the dumbbells further upwards, twist your wrists mid-air. By the time your arms are fully stretched, your palms will have moved from facing inwards to facing forwards.
- Return your arms to the position in step (e).
6) Standing Arnold Press
This activates your anterior and medial deltoids or shoulders, particularly during the rotation of your wrists. Also, it encourages your shoulders to be more mobile and flexible. In the video above, this workout starts around 1:38.
Step-by-step Guide
- Hold a dumbbell in each hand in a supinated way.
- Bend your elbows, raise the dumbbells to shoulder height, and bring the dumbbells together such that their weight plates/fixed weights are almost touching. Your fingers should be facing inwards while your knuckles face outwards. Your upper should be positioned at a 45° angle to your torso.
- Press the dumbbells upwards and rotate your wrists when the dumbbells are almost at your ear level.
- As you press the dumbbells overhead fully, your forearms should be perpendicular to your shoulders.
- Lower your arms back to their position in step (b).
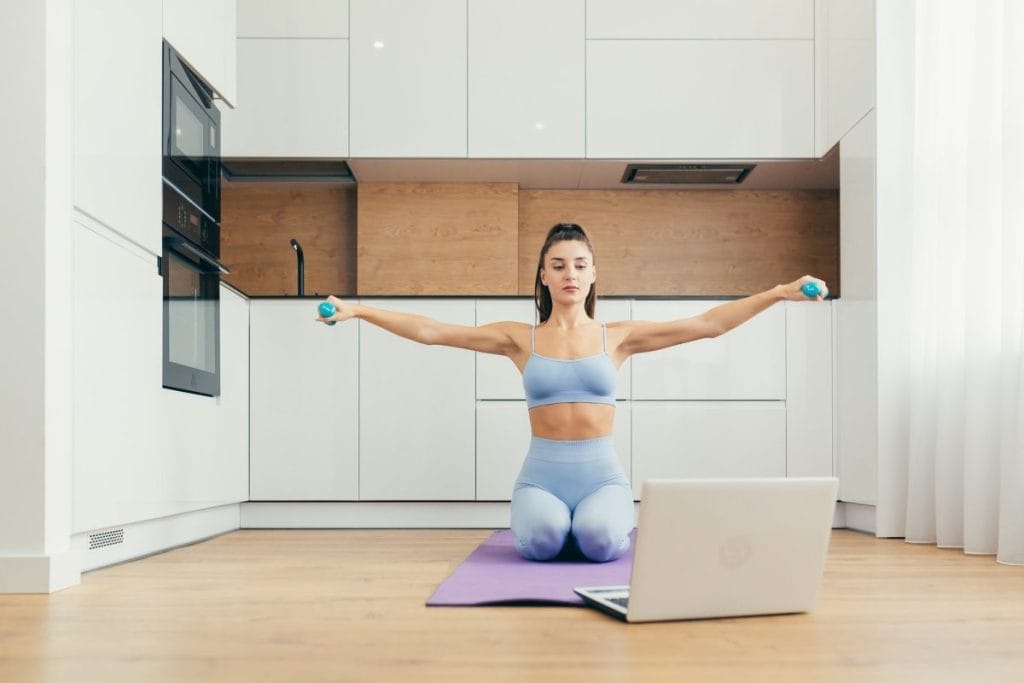
7) Front Dumbbell Raise
In this workout, your upper body does all the work while your anterior deltoids or the front part of your shoulders reap most of the benefits.
Step-by-step Guide
- Kneel upright. Don’t rest your butt on your heels.
- Hold the dumbbells using a neutral grip, letting your arms hang naturally in front of your thighs.
- Raise your arms in front of you, extending them completely till they’re about 90° from your torso and parallel to the floor.
- Squeeze your core muscles. Don’t lift the dumbbells further than shoulder level.
- Lower your arms back to the position in step (b).
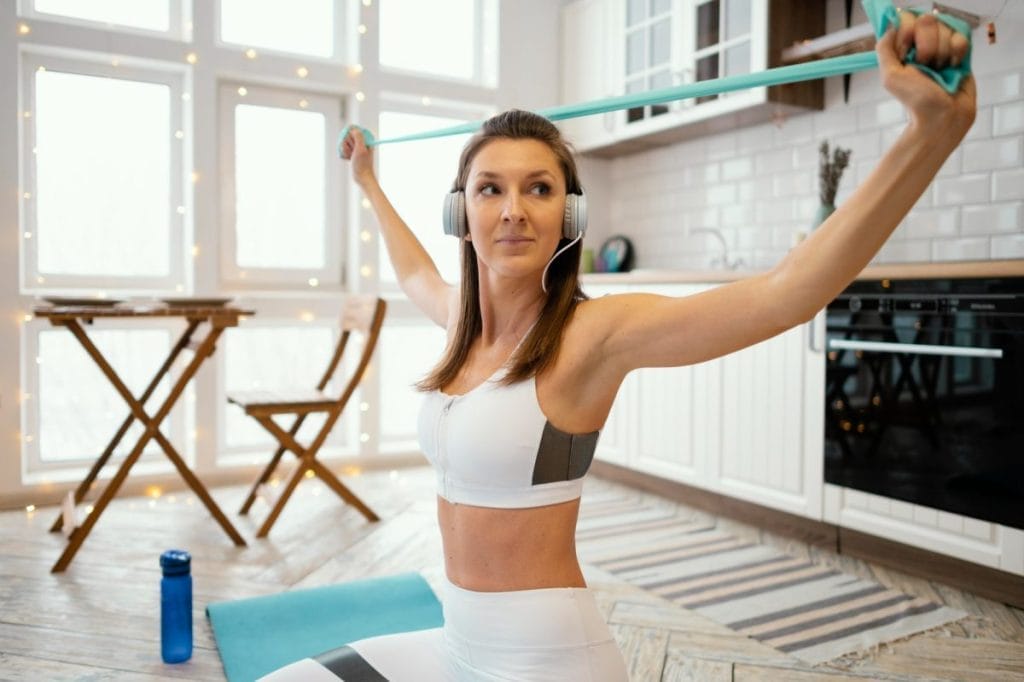
8) Lateral Dumbbell Raise
During the lateral dumbbell raise, you’ll have to bend your shoulders slightly to transfer the workload from your forearms to your shoulders. Since you’re aiming to work your shoulders, you shouldn’t skip this step. Fast forward the video below to 6:37 to watch how the lateral dumbbell raise is done.
Step-by-step Guide
- Kneel upright.
- Employing a neutral grip, hold the dumbbells.
- Let your arms hang naturally by your side.
- Lift your arms out at your sides with your elbow bent slightly.
- Continue to raise your arms until the dumbbells are around ear level.
- Lower your arms to the position in step 1.
Conclusion
All of the workouts mentioned above are excellent for building chest and shoulder strength. Start with simpler exercises, like triceps extensions, shoulder presses, and single-arm presses, to focus on developing proper form first. Finally, for a moderate rep range of around 6 to 12 reps per set to avoid overworking your muscles.


